Cold drafts and air leaks are typical in older houses, especially those dating back to World War II. Unfortunately, cold and hot air seeping into a home will cause your HVAC system to work harder, likely raising your energy bill.
Adding insulation behind existing walls will plug air drafts and reduce energy consumption to lower bills.
However, if you don’t want to open walls in your old house, you have several options to prevent cool or warm air from seeping indoors without tearing down a house wall.
Here’s your guide on how to insulate walls without removing the drywall.
Blog Table of Contents
3 Ways to Insulate Walls without Removing the Drywall
The good news about insulating walls without removing the drywall is that you have several options available. Here are some of the most effective ways to add wall insulation behind finished walls.

Start with Loft and Attic Insulation
One of the best ways to shield your home from air drafts without touching the drywall is to add insulation to the attic and loft or the space directly below the roof. These upper areas of your home are where air predominantly escapes or seeps into the house.
Prevent air leaks with roll insulation, fiberglass batts, or spray foam to fill cavities around the rafters. If you have excess material, you can use it to add insulation elsewhere in your home, such as your basement.
Blow Fiberglass or Loose Fill Cellulose Insulation into a Wall Cavity
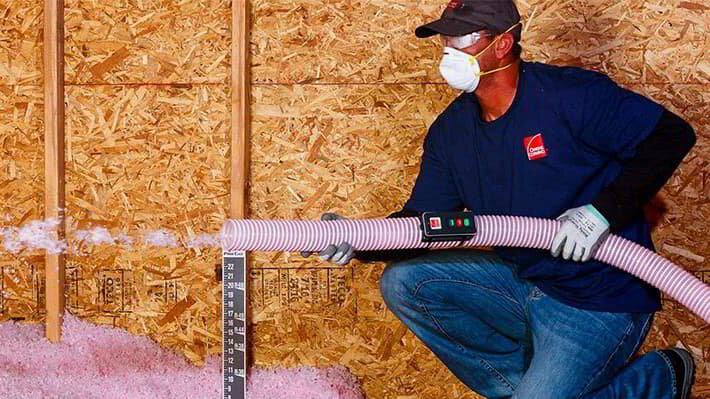
Blown-in insulation is one of the most common ways to block air leakage directly behind walls. Rock wool, fiberglass beads, and loose-fill cellulose insulation are all good options for this installation process.
Though each material undergoes the same process for insulating existing walls, cellulose material is ideal because it compacts better to seal gaps between small spaces. Injection foam is another option for a tight seal.
Insulate Your Home through the Exterior Walls

You don’t have to go through interior walls to protect the residence against air leaking from the structure.
It’s also possible to go through exterior walls, leaving the drywall inside your house untouched. Depending on your home’s siding material, the insulation process may differ.
– Vinyl and Aluminum Siding
Insulating a home with these siding materials will require a professional to remove a row of siding around the house to expose the sheathing. Then, they will cut holes into every stud cavity and fill the space with injection foam. Once the row has its insulation, the team will seal the holes and replace the siding.
– Wood Siding
For wood siding, professionals may use injection foam the same way as they would for aluminum or vinyl siding. That process depends on whether they can remove the siding easily. If they cannot remove the siding, they will cut the holes directly into the structure, inject the insulation, and plug the gap.
– Brick
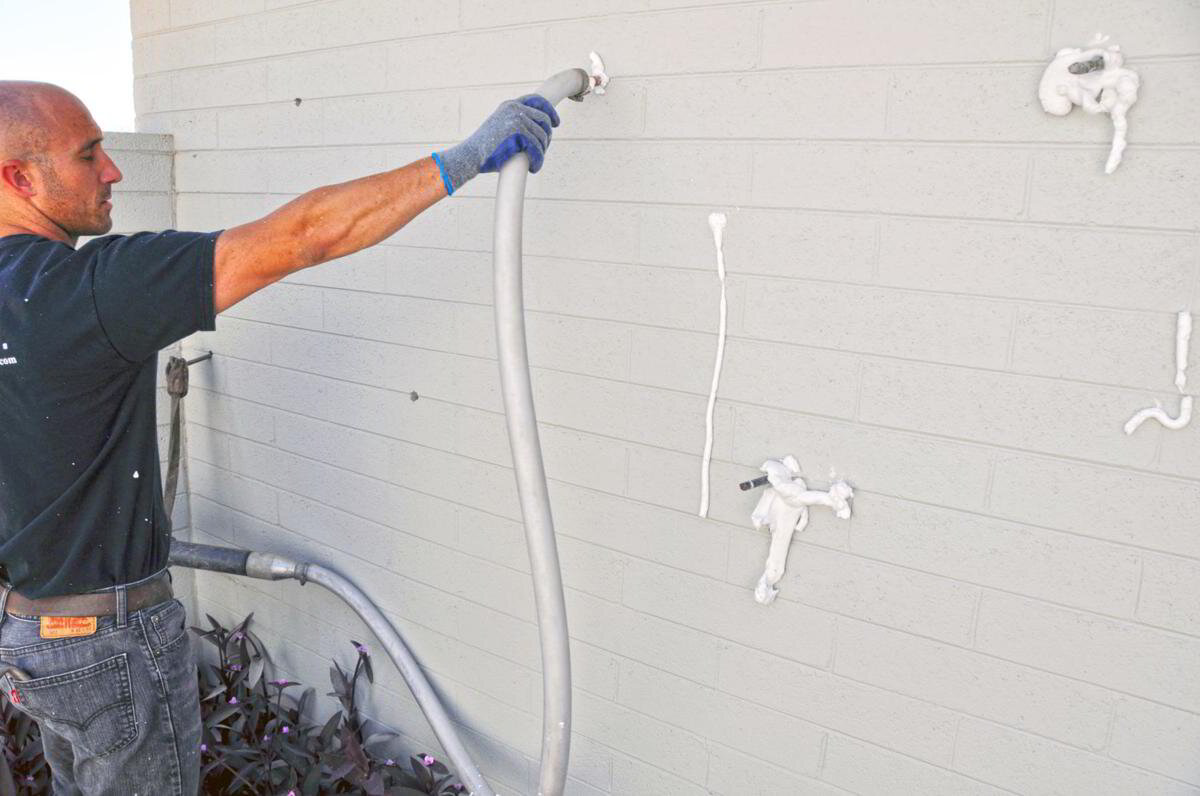
For brick siding, a professional will drill small holes into the mortar between bricks in front of a study cavity to insert the insulation. The process starts from the top and goes down to the bottom to ensure that the cavity has enough foam. After the injection, the team will cover the holes using mortar.
Is Spray Foam Insulation the Best Option?
Foam insulation is one of the better materials to use when insulating a residence. When spraying foam insulation, the material gets into all nooks and crannies because it exits the hose as a liquid and expands once it hits a surface.
Foam insulation can also reduce humidity, which means your home will be less of a breeding ground for mold and pests.
Spray and injection foam also has a high R-value, which means the material has exceptional climate control and energy efficiency. However, it’s possible to densely pack blown-in insulation to achieve a similar effect.
How to Blow Insulation into Interior Walls without Removing Drywall

Many homeowners choose to install insulation through interior drywall without removing it entirely. Here’s a closer look at the installation process.
1. Take Thermal Images
Behind the walls are studs and fire blocks. When cutting holes to add insulation behind an interior wall, you don’t want to accidentally drill into those structural support and safety features. Instead, use thermal imaging to locate a wall cavity.
2. Drill Small Holes in the Wall
Before adding insulation, the team will apply drop cloths in front of the wall to catch drywall debris from the holes drilled into it.
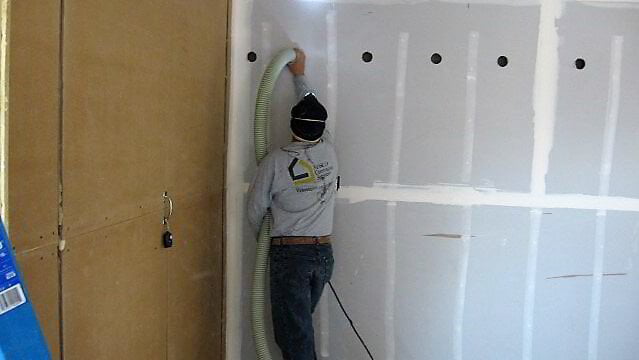
After locating the studs and fire blocks and marking them with a pencil, the team will drill holes measuring about two inches into the wall cavities. The openings will be high on the wall to naturally help the insulation create a dense piling more efficiently.
3. Blow the Insulation Materials into the Cavity
The insulation team will carefully insert a hose into the holes until the nozzle is close to the floor. As the insulation blows into the cavity, they will slowly lift the hose to ensure that every part of the space has an even distribution of foam or loose-fill insulation.
4. Plug the Drilled Holes and Paint
After all the walls are completely filled with new insulation, the insulation team will patch the holes using their original cut-outs and a layer of spackle. Once it dries, they will sand smooth and paint the walls to create a uniform appearance.
Add Quality Insulation to Your Home with Upstate Home Maintenance
At Upstate Home Maintenance, our experienced team knows how to maximize our clients’ comfort at home, whether it involves installing an air filtration system or a new HVAC system.
We also know how to insulate walls without removing the drywall to block cold air and reduce high energy costs.
The Upstate Home Maintenance team is fully licensed, bonded, and insured to handle all of your home comfort needs.
We proudly serve the upstate South Carolina area, including Spartanburg and Greenville. For more information about our services, call our Spartanburg location at (864) 529-7310 or Greenville team (864) 210-8444.
This article was written by Morgan Loch
Owner of Upstate Home Maintenance Services LLC and Local HVAC Guru


